A question that comes very often in Calaos is “How does the rules system works in Calaos? How to do [name what you want here]?”. I’m going to start a series of posts to explain that with some real examples on how it actually works and how to do advanced tricks with Calaos. So, lets start with the basics.
Architecture
At the root of the entire system sits calaos_server. This is the main component of the system and its purpose is to talk to the underlying hardware (Wago PLC, 1-wire, Zibase, MySensors, …), execute some user defined rules, and export some API for the different user interfaces (calaos_home, calaos_mobile, webapp, …).
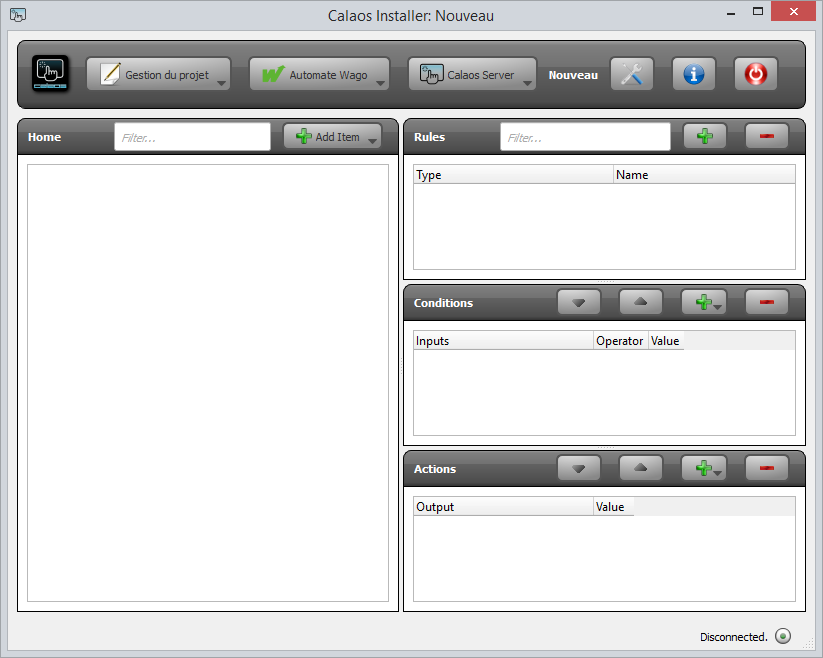
calaos_server acts as a daemon process and do what the user has configured in calaos_installer. Two types of configuration needs to be done, first declaring Items and devices in rooms (left part of calaos_installer), and finally creating rules using those items (right side of calaos_installer).
IO and rules
In calaos, all items declared are directly accessible from any user interface. For example, if you create a light, you can control that particular light on any interface. But when you create a switch, it will not do anything unless you create a rule that tells calaos what to do with your switch and eventually do an action like switch on or off your light. This is where rule comes in. A rule is basically an action that is triggered by an event. In our switch/light example, the event of pressing the switch will tell calaos to execute an action on the light.
Any rules are composed of a trigger event list and a actions. An event can also have some condition, but we will see that in a later post 😉
Basic example
Let’s start with a basic example of a switch that can switch on/off a light. First create our two devices, a switch and a light.

Next we are going to create a rule by clicking on the + button in the top right. Enter a rule name and type (for categorization) and click Ok. A new empty rule is created. You will see an empty condition list, and an empty action list. Let’s add the condition by dragging the switch in the condition list.
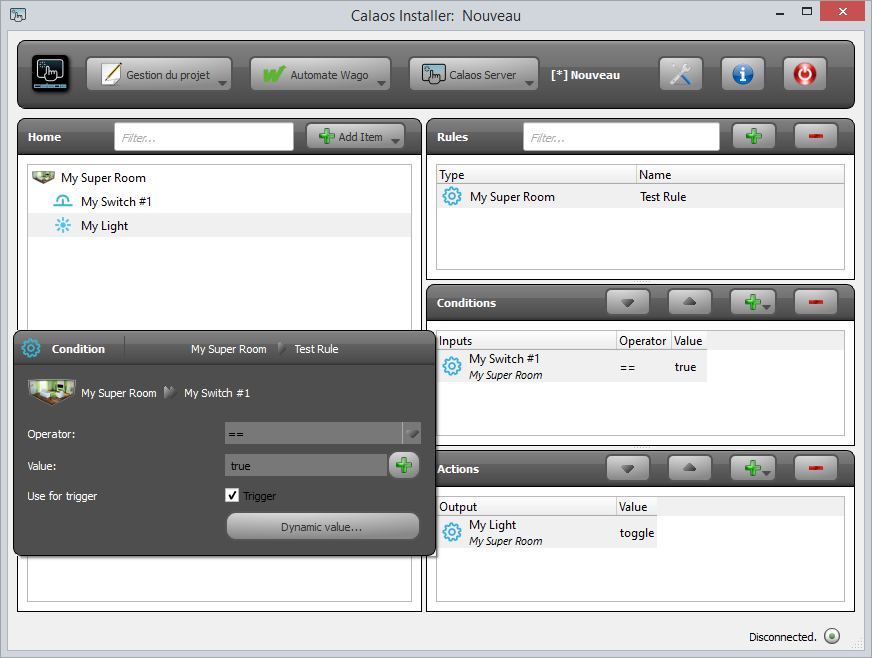
When adding a condition and clicking on it, you will see a popup appear. Here you can configure the condition. For now we can use the default values that means the event of: When the switch is pressed (true means the switch is active).
The first part of the rule is done, we need now to add an action to be executed after the switch is pressed. Lets drag the light to the action list.
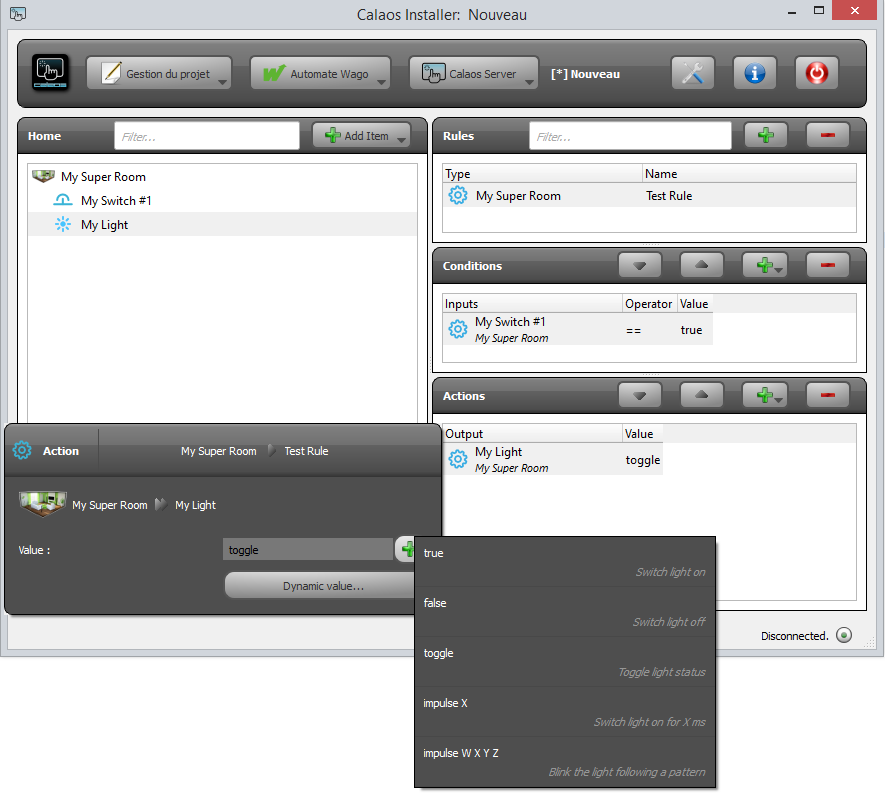
The same kind of popup appears after adding the light to the list, it will let you configure what action to do for that particular light. Every items supports different kind of actions. The default action for a light is toggle which means invert the light state on every rule execution.
Now we have seen how to create a basic rule to handle a switch press that will toggle a light. Of course the same thing can be done for all the items and devices in calaos. All hardware devices (shutter, temperature, …) can have different actions or events, and calaos_installer tries to list them all in the action list.
In the next post we will see how to create more complicated rules. Calaos can also have some virtual items (timers, time ranges, variables, …), and they behave exactly the same regarding the event/action system.